Export an animation
Note
This document is part of a series teaching how to Create an image of sea surface speeds
Note
Before you export to any format, you might want to Set the view size.
Warning
Before you start exporting Save a state file. Things can go wrong and often you want to reproduce a saved animation (with small changes).
It has proven useful to export to a sequence of png files that can then be concatenated using ffmpeg.
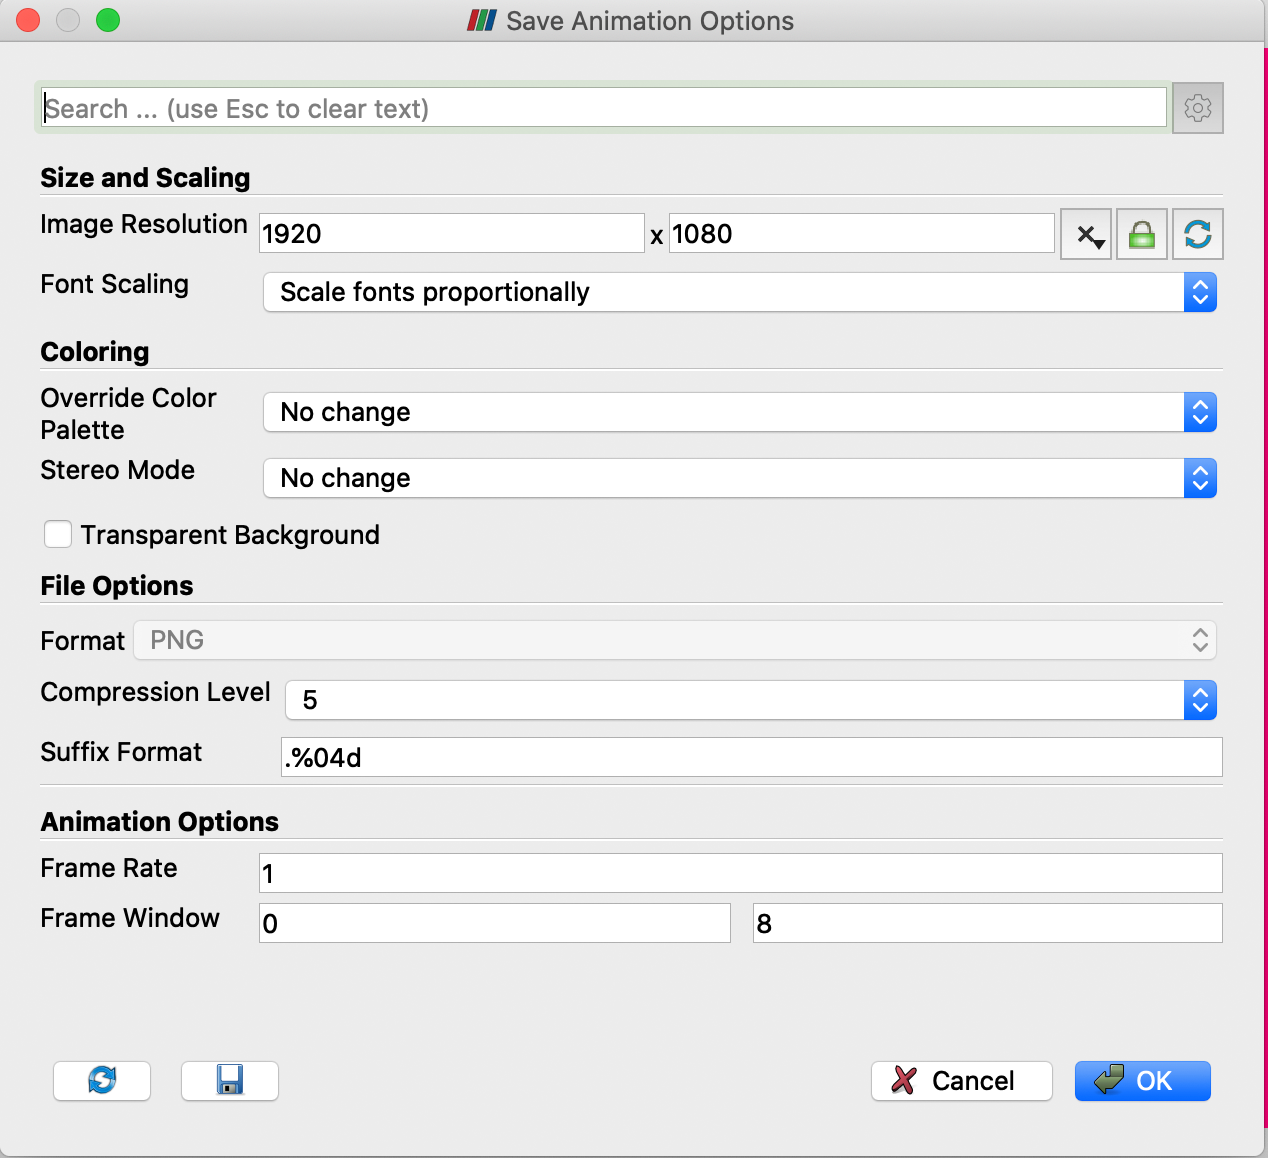
Chose File->Save Animation, enter a base file name (will be expanded by _0123/…, see the Suffix format field in the following dialogue), and ensure the correct image size in the following dialogue.
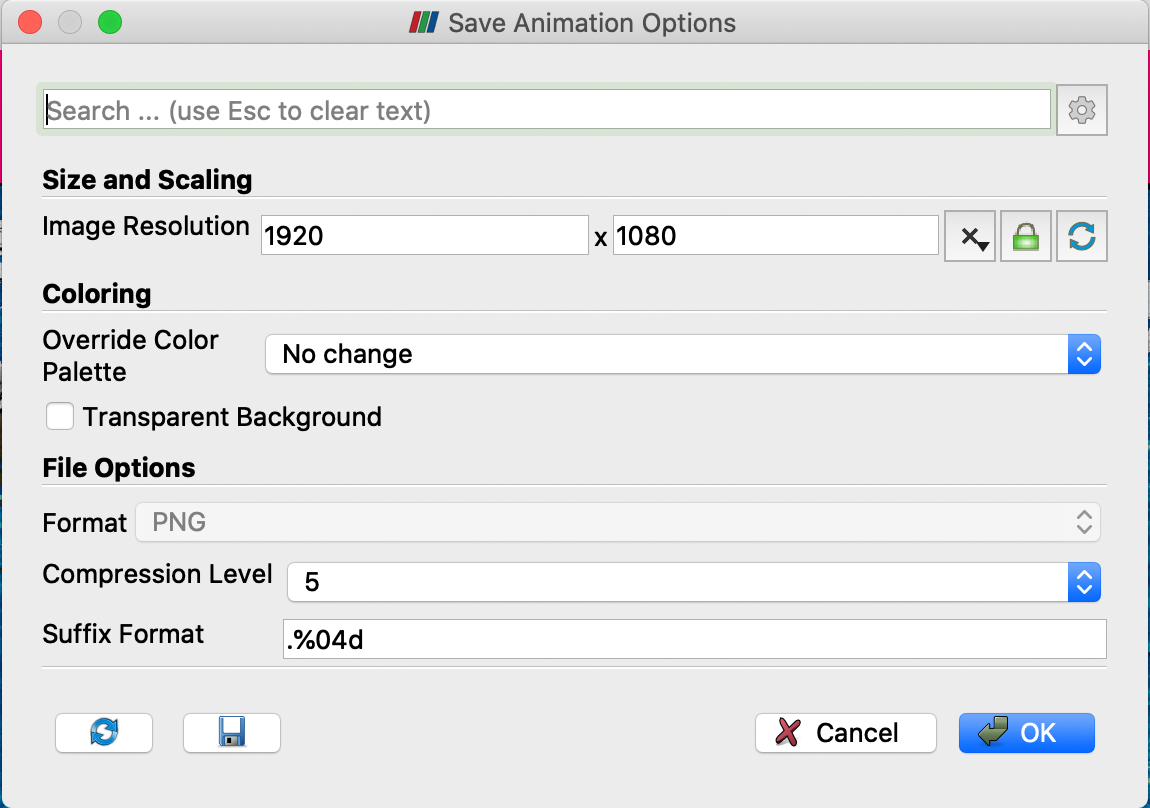
(If you change the size of the saved animation, you might want to toggle the gear in the top left and change the font scaling option, but really – Set the view size beforehand!)
This will generate a sequence of .png files. For a quick impression you can run through them using eog FILENAME*.png on linux, or preview on a mac.
Note
FFMPEG is not included in the software image on the VM of the 2020 ESiWACE2 HPDA and Vis course. On DKRZ’s supercomputer mistral you can find a reasonable ffmpeg on the GPU nodes.
If you have a reasonably complete ffmpeg, this shell script will work:
#!/bin/bash
set -evxu
output_framerate=${output_framerate:-5}
ffmpeg -framerate $output_framerate -pattern_type glob -i "$1"  -c:v libx264 -r $output_framerate -pix_fmt yuv420p $2
echo created $2
Save it as ffmglob, do chmod a+x ffmglob to make it executable and then call it as ./ffmglob 'FILENAME*.png' speeds.mp4 – yes, you need the quotes around the FILENAME expression.
This is the end of the example Create an image of sea surface speeds. Next you could continue with Display clouds as a semi-transparent overlay.