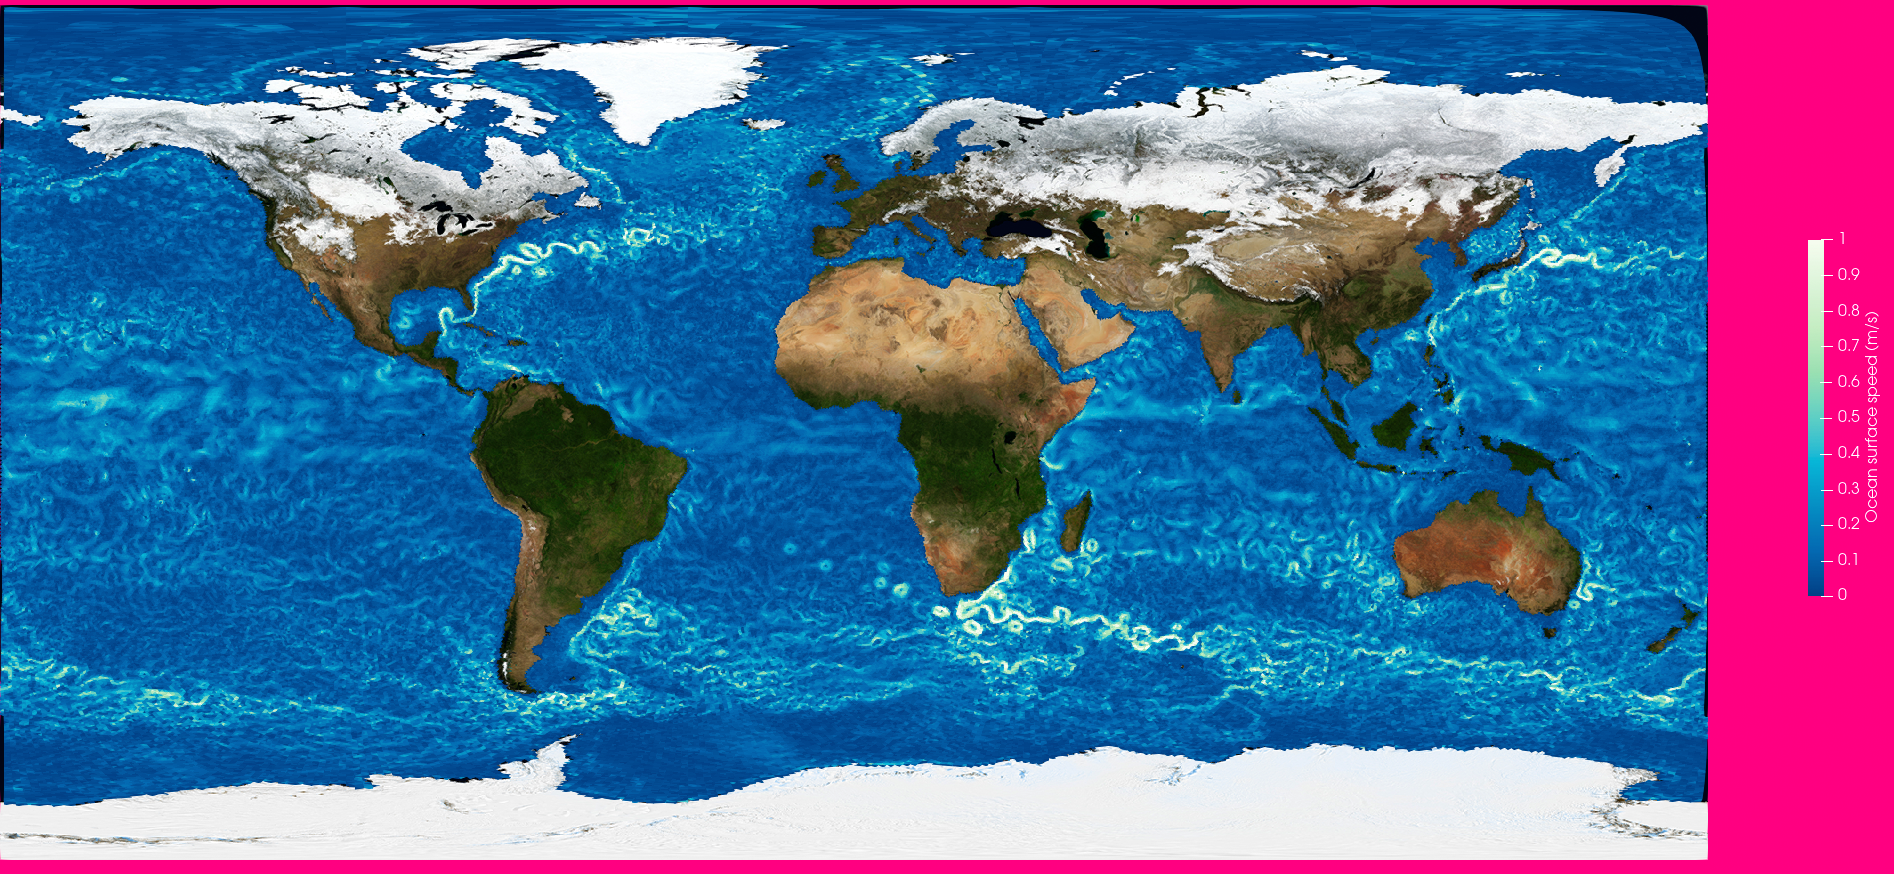
Create an image of sea surface speeds
These steps will get you from
via

to
Note
You can find a video recording covering this material at https://youtu.be/TCmnBme0OWA?t=2144, and the material at https://github.com/ESiWACE/hpda-vis-training (run the make file of the Training2021/Session2 folder). You can download all files by:
git clone git@github.com:ESiWACE/hpda-vis-training.git
cd hpda-vis-training/Training2021/Session2/
make
Note
Whatever you do with paraview, keep saving state files (File -> Save State) (see Save a state file) at regular intervals. You can additionally Make Paraview save a state on quitting or crashing.
You might need to Activate the CDI reader plugin
With the cdi reader loaded, you can Load 2D ICON data with the CDI reader
You can now Apply a calculator to convert u and v into speed
With the data loaded, you can Chose a different colormap
For tuning your resulting image, you can
Add an image as texture (plane) in the background to fill the holes in the ocean.
Switch to camera parallel projection to reduce projection artifacts
Set the background (color/gradient) (and its default).
Finally you can de-activate the display of the coordinate system in the bottom right by clicking the icon with the eye and the coordinate axis in the right of the menu (see The Paraview main screen).
To prepare for export (as/for a video) you should Set the view size before you Export an animation.
Here, you can Download a state file with all features. You will need to Activate the CDI reader plugin before loading it and chose the directory with your downloaded input files on loading the state file to make it work.
You can continue with Display clouds as a semi-transparent overlay.